

Our house layout is very very open. We have one pretty large main living area and basically all of the other rooms open off of this one room. When you first enter my house, you are in a very....very....small entryway. It's probably 8 by 6 feet...if that. It really isn't a separate room. In fact the only thing that separates it from the main living room is a large doorway header. So, we always had this sort of dead space behind the door in the entryway. It was a prime location for crap to land. Stuff that needed to go out to the car, shoes,the stroller,which would be on top of the shoes..book bags....you get my drift . I had the idea to put a mud room style bench and locker system in this space. It was the perfect size and the two walls on either side allowed it to be completely built in, which always makes it more awesome in my book. I researched some different plans on .ana-white.com and I decided that I had enough information to design it myself. I learned how to use google sketchup and I did my measurements and designed this thing from scratch. This was the first thing I had ever built, so there was definitely a learning curve, but I was SO proud of myself and how it turned out. I'm in love with it.! and completely solves our clutter problem in the entryway.
What my entryway used to look like:
this is a shot from the great room. This picture was on halloween YEARS ago...it's the only one at this angle I could find. We had a bench in there for awhile.

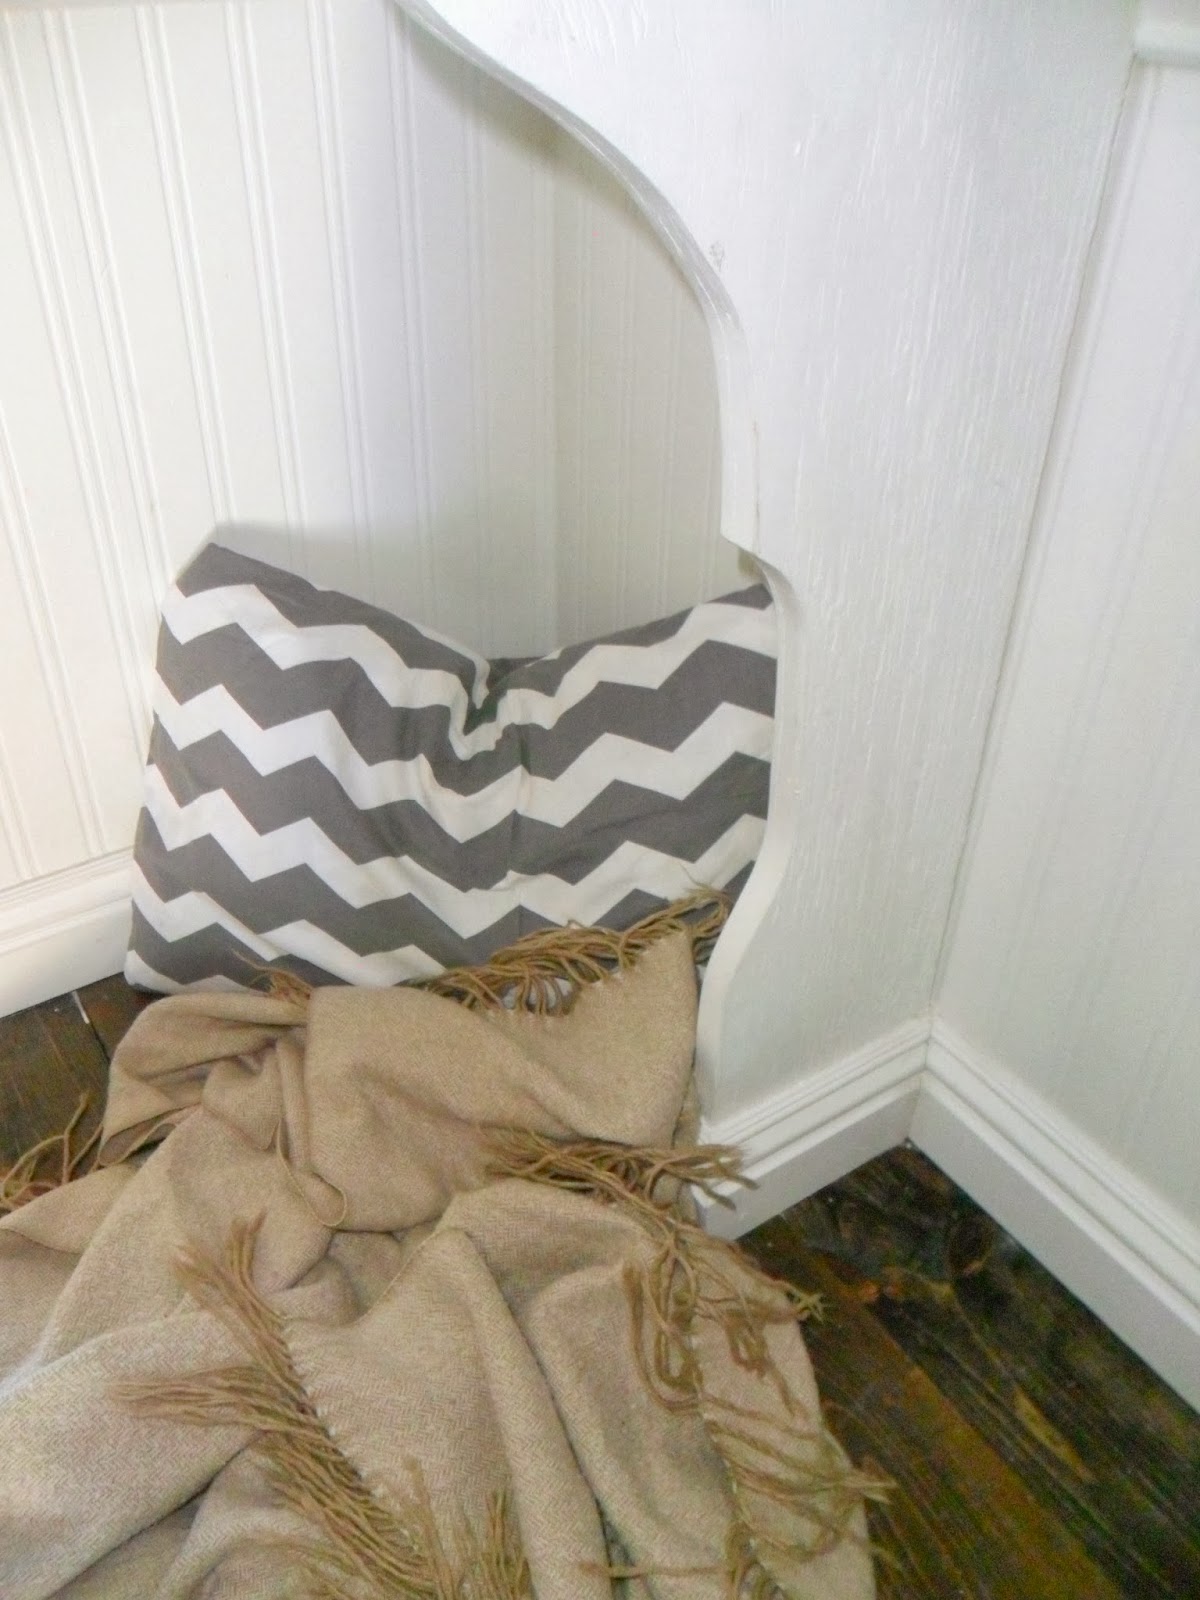
and this one is of my sweet baby (she's three now)....oh the mess. See the junk collecting in that spot....ugh

Here's my entryway finished! :)

I began by building a long box that was two inches short on either side of the length of the opening it will sit in. (wall to wall) If you build it to fit exactly, you will never be able to get it in there... I know this, not by common sense, but because I totally made this error and had to take this bottom apart twice. ugh..I used 3/4 inch plywood and counter sunk screws (drilled basically a shallow hole that the screws sit in so they are below the surface of the wood, so they can be filled in later...or covered up. They have drill bits for this). I screwed from the top and bottom to attach the side pieces to create a big rectangle and then I did the same for the inside cubby slots. It's just really important to make sure all angles and joints are perfectly square when doing this. If you have a took like the kreg jig to make pocket holes, this project would be SO much easier....I however, took it old school because I have no such lovely tool....

Next I built a base frame for it. I used 2x4s for this. It's ok that it's rough, because it will be covered with the baseboard when it's finished. I just screwed in from the front and back with countersunk screws. All of the measurements would have to be specific to your own location, so that's why I haven't included any.

I added the base to the bottom of my box with counter sunk screws screwed in from the bottom floor of the box, I screwed them into both the front 2x4s and the ones in the back. I was a dummy and inserted it into it's final resting place before I attached it to the base and had a really hard time getting my drill into the back of those cubbies to screw it down. You live and learn....like I said, this was the first thing I ever built.

(working on the bottom.....you can see the space it was built into in this one....and bonus for the adorable children...love them)

Next I added the pretty top boards to the top of my bench. I got 1x6 pine boards and just stained them with Minwax Dark Walnut stain and added a couple of coats of Minwax poly on top of it too. I just staggered them so it resembled the way hardwood is installed, and used my nailer to nail it down. The nails were so small, they disappeared into the dark stained wood.

Next I started on the top cubbies. These I made about six inches less deep than the bottom cubbies.....so you won't hit your head when you sit down on the bench. I made these the same way as the bottom with countersunk screws, drilled in from the top and bottom on both the front and back.

The next part was tricky. To make the homework trays, I had to really think. Here's where pocket holes would have really come in handy. You can't join the top of them to the bottom of the cubbies because the dividers are in the way, and the dividers have to match up. I took an additional board that was the same length as the box of cubbies, however I cut it about three inches less deep than the top. Then I added five dividers just as I have in the cubbies above that are screwed to the long board at the bottom. I added a decorative curve to the end of each divider that curved from the larger depth at the top to the smaller depth of the homework tray. I used a jig saw to do that and just traced the finished one onto the others to get the exact same shape for all of them. At the top of each divider I drilled holes in the front and back and inserted small dowels into each one with some wood glue.

To attach the homework shelf to the top cubbies, I drilled matching holes in the bottom of the cubbies and attached it to the top cubbies with wood glue.

After this I made some pretty wood dividers to create a "locker" type look. I just freehanded a design on a long board of wood and cut it out with the jig saw. I then took the finished board and traced it on the rest of them and cut them out with the jigsaw also. Please ignore that there are four boards floating in this picture. There really are three....I don't know how that extra one got in there.

Next, I ran into the same problem with how to attach the decorative dividers to the top cubbies.....again, a kreg jig would have been awesome.....but I went ahead and connected them with the same method as I did before and drilled holes in the tops, added wooden dowels and glue and matched them up to holes drilled underneath the cubbies, more glue and clamped it together. Since this entire unit will be standing up and mounted to the wall, I figured that it was safe to have them joined in this way, because the weight of itself will help hold it all together.

Next we (I needed the hubby's help for this part) mounted this part on the wall with the bottoms of the dividers resting directly on top of the bench's surface. He held it up, while I attached big old "L" brackets through the back into the studs in the wall. You absolutely have to do this, because the three dividers are not strong enough to hold the weight of this structure. You can totally see the "L" brackets and I painted them white, so they would blend, but I figured with stuff in the cubbies they wouldn't show....and guess what, they don't! We also added blocks to the sides inbetween the wall on each side and the end of the top cubbies. We screwed the blocks into the studs and then screwed the sides of the top into the blocks. It's very secure!

There ended up being a gap all of the way around the edges of the unit because we cut it a smidge small, so we added trim all the way down the sides. We also added some pretty trim across the front of the face frames on the top, and gorgeous baseboard all the way around the edge where the wooded bench meets the wall (and also wrapped each divider in baseboard....love that part). We added baseboard that matches the baseboard in our house to the very bottom and fully integrated it as "built in." I used paintable bead board wallpaper (the same stuff I have as my kitchen backsplash) and added it about half way up the wall, and the last thing I did was add some more super thick baseboard around the middle at the top of the wallpaper, but I installed it upside down. All that was left after that was caulking, puttying, caulking, some more caulking and then paint! (took FOREVER) I then got some hooks for each cubby. Nothing thrilled me more than to add those hooks, let me tell ya!
Here are some more shots of the finished product:


I also have since made awesome wood crates for shoes that go in the bottom of these cubbies. Stay tuned for a tutorial on those. You can see a couple of them in some of these pictures....I"m just not finished making them, that's why there are only two!


I know this was crazy long!
Happy DIY-ing!
xoxox!
Anna
linking this post up to:
the winthrop chroniclesnot just a housewife
smart school house
clean and scentsible
savvy southern style
diy by design
the thrifty home
happy housie
two it yourself
made in a day
vmg206
living well spending less
jennifer rizzo
life in velvet
my repurposed life
from my front porch to yours
just us four
the shabby nest
craft dictator
my love to create
the idea room
too much time on my hands
classy clutter
It's overflowing
one more time events
nifty thrifty things
flamingo toes
pink when
three mango seeds
cherished bliss
house on the way
kathe with an e
east coast creative
miss mustard seed
Hi Anna,
ReplyDeleteI work with Cassity over at Remodelaholic, and I wanted to let you know that we received your submission and sent a response. Sometimes our emails get caught in the email vortex or spam filters, so I just wanted to let you know to be on the lookout for an email from hello@remodelaholic :) Thanks!
Wow. That looks great! Put together so well and decorated so nicely! Clicked over from http://anextraordinaryday.net.
ReplyDeleteThank you so much! I'm so happy to have a few comments!
DeleteGreat job Anna!! I am so impressed with your project and your tutorial!! I bet you wished you had constructed this a long time ago. :)
ReplyDeleteThanks for sharing it with us at Project Inspire{d}~AnExtraordinaryDay.net!
Best wishes for more Extraordinary projects!
~Diane
Thank you! Yes, it was a long time coming.....and a lot of hard work, but so very very worth it.
DeleteThis is exactly what I want in our entryway! I'm so impressed that you did this yourself. It looks amazing!
ReplyDeleteThank you very much! I hope you give it a try in your entryway. If you do, you'll have to be sure to let me see it when you are done! It is such a gratifying thing to build something. :)
DeleteIt looks beautiful! Great job and I am sure you are loving it! Someday maybe I will get to building one in my house....Just wish I had the space!
ReplyDeletethanks so much! We don't have a lot of space either, but I've found that adding built-ins gives you more space it seems. Good luck! I hope you are able to build yourself one soon!
ReplyDeleteI couldn't help but stop by once I saw your mudroom and entryway tutorial. You have done a wonderful job. I would love to have you to link up at my weekly Clever Chicks Blog Hop
ReplyDelete:http://www.the-chicken-chick.com/2014/02/clever-chicks-blog-hop-72-with-two.html
I hope you can make it!
Cheers,
Kathy Shea Mormino
The Chicken Chick
http://www.the-chicken-chick.com/
Thank you so much Kathy! I will most certainly join your Blog Hop! I will be there with bells on! Thank you so much for the invite!
DeleteHi Anna,
ReplyDeleteJust stopping by from the TitiCrafty link party. Wow, can't believe this is your first build! I love everything about it, all the little details like the moulding, that make it really stand out, and the beautiful job you did on the bench seat. Thanks for sharing your tutorial,
Val @ artsybuildinglady.blogspot.ca
Thank you so much Val! It was a labor of love for sure! I think I found my calling....nothing ever gave me so much pleasure than to see something I built finished :)
DeleteWhat a great space. I wish that I had thought of the homework cubbies when we had our locker bench built. And the fact that you built it yourself is amazing! You have inspired me to want to break out the power tools.. maybe when it warms up a little.
ReplyDeleteKelly from http://lifeonbirchst.com
Yeah, the homework shelves are a life saver. SO glad I added them. I hope you do break out the power tools and build something! When you do, you have to make sure to send me a link! I'd love to see what you come up with :) Thank you for your lovely comment!
DeleteThank you for linking to Whimsy Wednesday last week! I featured your locker built-ins in my featured project post! Beautiful job!
ReplyDeleteYou can see it here http://www.ohmy-creative.com/home/10-diy-made-wood-home-projects/
The party is open this week...stop by and link up!
Have a great week!
Susan
That is so awesome! Thank you so much! I'm so thrilled to be getting featured. I will totally be there to link up. Have a wonderful day!
DeleteHi Anna, I saw this featured at Oh My Creative. You did such an awesome job! The finished product looks great! I'm in that caulking stage right now on a window seat, I totally understand, it DOES take SO LONG! This is such a beautiful project and for a first build, down right AMAZING! Thanks for sharing :) I can't wait to see what else you build.
ReplyDeleteThank you! You are so sweet to say all of that! I know it was my first build, and it seems "so impressive" but if you guys only knew how many times I had to re-do things and take stuff apart, you wouldn't think so. Good luck with your window seat. I'd love to see it when you are done!
DeleteWow, I am impressed. Love it and great tutorial too. Thanks tons for linking to Inspire Me. Hugs, Marty
ReplyDeleteThank you for sharing with the Clever Chicks Blog Hop! I hope you’ll join us again next week!
ReplyDeleteCheers,
Kathy Shea Mormino
The Chicken Chick
http://www.The-Chicken-Chick.com
you're welcome! I will definitely try to be back!
DeleteI love it, Anna. So functional and beautiful!! You're being featured at Give Me the Goods today. :)
ReplyDeleteRachel @ www.maisondepax.com
Thank you so much!! That is awesome!
DeleteGreat job! Love the buckets you used instead of baskets.
ReplyDeleteThank you! I totally got those from the dollar spot at Target awhile back.
DeleteNice job on this! I love the galvanized buckets too. ~Deborah
ReplyDeleteThank you so much! I love those buckets. They make the whole space feel much more sleek than if they were baskets...plus, silver shiny things make me happy :) Thanks for stopping by!
DeleteYou did such a amazing job! I love it :)
ReplyDeleteThank you so much Stacy!
DeleteWow, this is really impressive! I love how it all turned out. Thank you so much for sharing at our link it or lump it party!
ReplyDeleteAmy @ http://www.delineateyourdwelling.com
Thank you so much! I added you guys to my bookmarks, so I'll be back next week!
DeleteWhat a gorgeous and practical mud room! I especially love your finishing touches like the metal buckets! Adorable :) Thanks so much for linking up at Thursday STYLE :)
ReplyDeleteThank you! I love those metal buckets too! Would you believe they were from the Target dollar spot! I saw them, bought them and held on to them for a year before I had a good spot for them. :)
DeleteA house isn't complete without a mudroom! Yours turned out PERFECT!!! So excited to feature you tomorrow! XO, Aimee - ItsOverflowing
ReplyDeleteThank you so much Aimee! I'm thrilled! I'll be sure to check out your feature.
DeleteThis looks GREAT!! Can you please come over and make me one?!? We're in desparate need of something more functional!! Thanks for linking up at DIY Sunday Showcase last week. I'm featuring it today on my roundup! Hope to see you back again on Saturday evening!
ReplyDeletehttp://viewfromthefridge.com/8-inspiring-spaces-for-your-home/
Sure! Just get me the travel fare, the babysitter to keep the kids while I'm gone, and a place to stay and I'll be there! ;) Thank you so much for featuring me! I'll be right over there to check it out! Yay!
DeleteFantastic! Everything looks wonderful, practical and lovely! :D Doesn't it feel good to use that nook space for stuff you use and not a place to dump all kinds of crap! lol I can relate. ;) Great work!
ReplyDeleteIt DOES! Thank you so much!
DeleteHi Anna! I absolutely love your little mudroom! I would love to feature it on my organizing blog, Organize and Inspire. Would that be okay with you? I would use no more than 1 or 2 pictures, provide full credit to you and a link back to your blog. Just let me know! Thanks. :)
ReplyDeleteTraci
of course! that is amazing! There are so many wonderful blogs out there, but to me its an extra special honor when a blog I already know and love (before blogging) wants to feature me! I'm thrilled! thank you!
ReplyDeleteAwesome! These are the mudrooms I drool over and wish I had..... :) Would love for you to join up at Trash 2 Treasure Tuesday link party. We’re not a “new” party but alwyas love some “new blood”. :) http://www.kammyskorner.com/2014/04/trash-2-treasure-tuesday-linky-party_28.html
ReplyDeleteThank you! Already linked up!
Delete