Showing posts with label diy. Show all posts

Tuesday, February 11, 2014

Easy Table Runner

Good Afternoon!  Today, I am sick....it stinks.  I pigged out this weekend on all sorts of goodies, instead of my normal eating habits that do not include sugar or starches of any kind...and BAM, whatdoyaknow....I'm sick.  It makes a huge difference in how my body operates.  I'm fine with eating an extravagant meal here and there, especially if we have plans or some function to go to, but I just can't seem to keep that in moderation.  If I "fall off of the wagon" I use it as an excuse to gorge myself until I get a fresh start the next day (or even monday if it's the weekend).  Maybe I'll learn my lesson....maybe not....

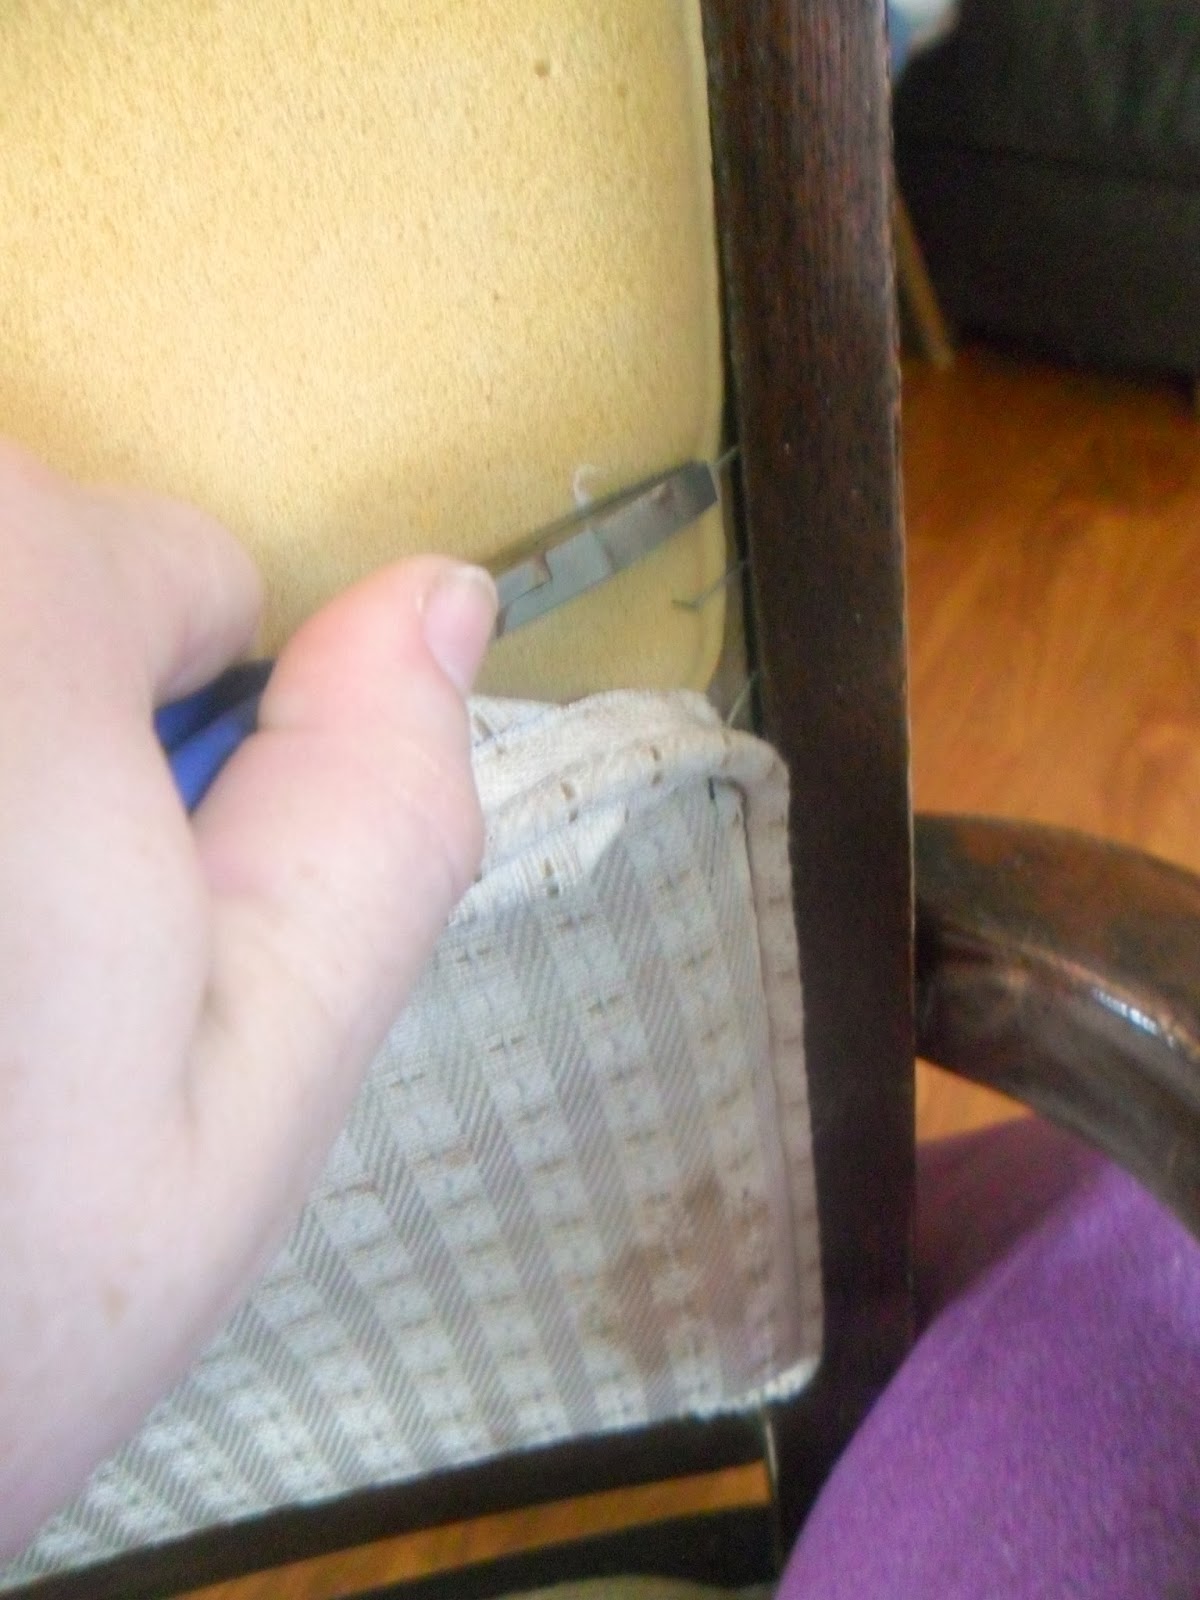
This weekend we had SO many different gatherings that we attended.  It can be nice to feel so very loved when you are invited out a lot...but also, it's exhausting and pocket draining.  One of the things I had going on this weekend was a low key casual baby shower for a girlfriend of mine which we hosted at a restaurant.  It was easy and no fuss, which is what she wanted since this is her third child.  More like a night out to celebrate and pamper her.  I was tasked with coming up with a cute table runner for her that she could take home and use at her house....and a few other little table decorations.  

I'm going to show you how I made the table runner today.  I seriously have this down to an art. We do a lot of baby showers in my social circle and I've made a lot of table runners.  It is so simple to get all of you measurements even and correct if you follow these steps.  


I started out with 1 yard of fabric.  I got this pretty blue print at Hobby Lobby.  I knew that another friend of mine was bringing flowers that would be in lemons and limes.....that's all the color scheme we had to go with.  That and the mother to be said she "liked blue".  She told me that she liked my style and to just choose for her (made it hard for me, I tell ya) 


The first thing I did was to fold it into thirds.  You just fold one side over to where it looks like the edge is directly in the middle of the visible plane of fabric you are looking at. 


Then I just folded it over again so it's folded in three even sections.  


Next I cut along the fold on each side.  


Now, this isn't precise, so you will have to measure the width of all three pieces you wind up with to see how wide you are going to make your runner.  
My skinniest piece was 14.5 across, so I decided that I wanted my runner to be 13.5 across.  Taking off half an inch for each side's seam allowance. 


Now, you don't want to just go along and hem a half inch in on each side. This would result in a wavy edge and the width of your runner wouldn't be even all the way down, since you didn't go through the annoying painstaking process of perfectly measuring your three pieces in the beginning.  So what we do, here is much easier.  You fold your piece of fabric in half lenghwise and measure out from the middle.  I want my runner to be 13.5 inches, so we measure 6.75 inches from the center and then mark it.  Do that every so often along the length of the fabric.....then flip it over and do the other side.....then repeat for your other three pieces.  It goes really fast.  I know it sounds tedious, but it wasn't so bad at all.  


Once you have it all marked, you put two pieces together with right sides together. 


You need to line up the marks on each side.  If you measured correctly, they should perfectly match up, while the cut edge of your fabric won't match up.  


Next, sew your pieces, right sides together, end to end.  Normally, I'd say make sure to match up your pattern while doing this, but in this case, I was lazy and didn't do it.  I think I was able to get away with it because it was a busy pattern.  It is always better to match up the pattern, though....and I usually do.  


See, you can't really see the seam that bad on this fabric.


once you sew all three pieces together, you will have a very long stretch of fabric. 
Here is where you will need to decide how long you need your runner to be.  I decided to go with the full length I could get, because I knew we were going to a restaurant and would probably have a really long table.  If you have a table to measure, I suggest laying it out on your table and seeing how long you want it, and then trimming accordingly. 


Next, you iron the seams you just created.  Open them and iron them flat. 
My ironing board is so gross....sorry.  (maybe I should DIY one....hmmm..)


A flattened seam makes the finished product look so much more professional.  Don't skip this step. 


Next it is time to sew the sides. You go back and find your marks and fold on the marks.  You can put  pins in it all the way down, if that's the way you like to do it, or you can do like me and just move one pin down a bit as you go.  I also made sure to keep the edge of my presser foot at the edge of the hemmed side of the fabric, so that my seam would be a nice and even distance from the finished edge all the way down.   
note....I chose not to do a "finished hem" on the sides (which would be folding it over twice so that the raw edge is hidden).  I hate having a table runner with a lump on the side where the seam is, so I went this route to keep it nice and flat. 


finished edges


For the top edge, I started by folding and pinning the corners in.  Make sure you pin at the bottom of your little triangle, so the pin doesn't get in the way as you fold. 


Fold the top halfway down the triangles, and then fold over again (to hide the raw edge) so that the triangles are all of the way folded over as you see below. 
Pin in place.  


Sew the whole thing down, and then come up the edges a little bit along the folded triangle part.  Don't forget to back-stitch at the beginning and end of your seam. 


Press all of your seams and then give your runner a good ironing.  


There you have it!  A perfect table runner....well, except that this one is waaay too long for my table.  :) 


Some shots of the baby shower....

I made the "C" (I'll do another post on that) and another friend did flowers and another did the diaper cake


I'm a dork 


These had cupcakes in them.  My amazing friend made them and made the boxes.  She's awesome, I tell ya.  


Love these girls.  Hope nobody minds their picture on here....I'll take it off if you do, just let me know. It's just such a great shot! 


the "C" on the candlestick are from my house. see it here


It turned out really pretty.  The waitress said she had never seen a cuter baby shower at a restaurant before.  The lighting was crazy in there.  All of the stuff that is blue looked green.  I tried to fix it, but the pictures still came out crazy.  

Hope you all have a great day.  

xoxo! 
Anna


Friday, January 31, 2014

Extreme Chair Makeover!

Hello!!! I have promised this post for a couple of days now and I'm sorry it has taken me so long to get it finished.  LET ME TELL YOU.....nail head trim....... I have no words....... It's so beautiful and I love it and I want to  used to want to put it on everything in my house.  It was seriously tedious and finger cramping work, but I got it done! It took me way longer than I thought and it isn't perfect....but I still love my final result.  Part of my problem was that I was trying to squeeze it in a very small space, a crack if you will.  I wonder if it would be easier if I were adding it to something that was flat.  I guess we'll see!  I must be crazy, because I totally have more plans for our friend, nail head trim.

Anyways....on with the show....

Here's my beautiful, lovely chair.  I think I'll call her Chairyl (funny?... no? ....whatever...)  She needs a name because she now means much more to me than just an ordinary chair, after all of the backbreaking work that went into it!


Here's some before pictures....it's really scary.  Don't say you weren't warned.  


The back


A close up of the seat....I know, this is horribly disgusting....I can't believe I am putting this on the internet.  We have had this chair for many many years.  The black hand prints were the last straw.  My son took it up to his bedroom to change a lightbulb and left it up there for a day....during which, my then three year old daughter found some black craft paint I had left out (dumb dumb dumb Anna) and decided to make hand prints all over this and my son's couch cushions.  I cried.  So, this chair was put out to pasture until I decided to fix it up! 


I started by sanding down all of the wood.  Then I pretty much started yanking and prying until I figured out how this back piece of fabric was held on (I had no clue).  Once I got it to rip away a little, I started pulling out staples.  Each piece of furniture you re-upholster will basically tell you how to re-do it once you get in and see how it's assembled.  (I will pause for a moment so you can laugh at my purple pants)..........................ready? Let's go!


You can see how I just yanked the fabric and the staples came halfway out....and then I just pulled them out with needle nose pliers.  

Until I got to only the bottom part left hanging on.  
 I had to remove the cushion to get to the very bottom staples.  It was glued on....so I carefully pulled it off.  

Next I just continued removing the fabric and staples until it was free from the chair. 


It was a TON of staples.  I cut my hand all up too...


Under the cushion was literally the back of the chair's fabric, stapled taut to the inside of the wooden frame.  The only thing giving it a little bit of support was an extra layer of muslin stapled in with it.  I was surprised it held up so well. 


I decided to leave these pieces attached and to cover them with the new fabric.  I didn't want to try and re-stretch the fabric across the open chair frame.  I figured out another method for attaching the back piece of fabric.


Next I unscrewed the seat base from the frame.  


 Once I got all of the fabric off, I painted the entire thing with three coats of Valspar Notre Dame....I had a full test pot of it in the garage, so I used it.  It was a happy accident.  After that I added a coat of Minwax polycrilic for a top coat.  I totally forgot to get a picture of me painting, but I'm sure your imaginations are right on point.  ;)


The seat base had piping around it.  I decided to leave the fabric on the seat base for extra support, and just take off the piping.  Do you see how there's two sets of staples.  One going around the perimeter and one stapling down the folded fabric?  I just took off the one around the perimeter...which was just the piping.  


Next I cut out my fabric (this is the back cushion actually...guess I didn't get the picture for the base cushion).  I made sure to give myself plenty of excess, that will be trimmed off later.  And of course, I lined up the pattern in a way that I liked.  This is this fabric from fabric.com and I used about 1 yard for this project. 


I started by stretching the fabric taut and stapling on the back of the cushion once in the center of each side.  


After I did that, I worked my way from the middle out, alternating sides as I went...so that way it would be very even.  I also made sure to check the front side for wrinkles and funky lines often throughout this process.  


Once I got to the corners, I just folded them over as you see in the picture and sort of fudged around with it until I got it to look seamless on the front.  It took a little playing around to get it right.  


After that I went on to the back of the chair.  This is my fool proof method.  Measure for an approximate fit...and shove the edges under with a butter knife.  That's it!  I didn't staple or anything....ha!  It held really well.  If I ever have a problem with it coming out, I'll add a bit of glue under the ledge and re-do it...but for now I think it's just fine.  


This was a tricky part.  I re-glued the foam back to the muslin fabric backing (like it was before) using some spray adhesive.  Next, I shoved the fabric down into all of the cracks.  The foam padding fit into that frame exactly, so there was a well defined "crack".  That's what I was working with.  At first I thought there wouldn't be room to add any sort of trim around this to hide the ugly edge, or even staple it for that matter, and I started sweating it....but as you can see, foam is squishy...


I just shoved the foam down with the stapler and was able to staple into the side of the wood frame.


After that, I used scissors to cut as close to the edge of the staple line as I could and to trim off all of the excess fabric.  
Next came the nail head trim.  These were the tools I used.  Well, not the screwdriver....not sure why that's in this picture.  A hammer, needle nose pliers, an exacto knife and silver nail heads. 


This was hard at first, I had a very small space to add the nail heads.  Like I said before, I had to squish down the foam to make it work.  What I did was take the exacto knife and try to trim the excess fabric off....which was unsuccessful.  I guess exacto knife was dull....so then I used it to carefully tuck and fold over the excess pieces under each nail head as I went along. I used the needle nose pliers to hold the nail heads in place.


And then I hit it with the hammer until I set the nail head, and then I removed the pliers and tapped it the rest of the way in place.  (no, I'm not left handed....I was staging this shot with a camera in my hand, so the hammer went lefty...lol) 


You have to be careful that you hit the nail heads strait on...they bend and warp reeeeeally easily.  It was SUCH a pain in the butt! There was a lot of starting over.  


Another thing I could have prevented, had I taped off my wood before doing this, was the beating my lovely paint job took while I was "tapping" those nail heads in.  If you look close you can see all of the scratches.   Oh and I totally didn't iron the fabric either....but it straitened out after all of the nails were in (phew).  YOU should definitely iron YOUR fabric :) 


Slowly coming along......

And finally after three days of "nailing" She's all done!  
I went back with a teensy craft brush and re-painted all of those little scratches, and then I went over them with a clear coat again too.  


 In case you wanted to know what the entry to my kitchen looks like. 


 sigh.....so much better! 


This is actually phase 1 for this little chair.  I have plans to add more nail heads to her in a few other places, but I decided to give it a break for a bit.  She is passable right now, and that's good enough.  My hands need a break!  

Hope everybody has a great weekend!  
xoxo
Anna 


linking up to:

the silly pearl
the chicken chick
Thrifty decor chick
diy showoff
life on lakeshore
 drive
titi crafty
uncommon designs
rain on a tin roof
twelveOeight
craft0maniac
the girl creative
under the table and dreaming
coastal charm
a stroll through life
my uncommon slice of suburbia
our home away from home
home coming
live laugh rowe
52 mantles'
36 avenue
diy dreamer
the winthrop chronicles
C.R.A.F.T.
craft-o-maniac
carolyn's homework
not just a housewife
ginger snap crafts
smart school house
clean and scentsible
southern savvy style
diy by design
the thrifty home
happy housie
free pretty things for you
someday crafts
two it yourself
made in a day
polkadots on parade
lady behind the curtain
seven thirty three
vmg206
live laugh rowe
made in a day
living well spending less
artsy fartsy mama
liz marie blog
jennifer rizzo
life in velvet
my repurposed life
from my front porch to yours
just us four
the shabby nest
craft dictator
my love to create
remodelaholic
the idea room
tatertots and jello
too much time on my hands
classy clutter
It's overflowing
one more time events
be different act normal
a little claireification
momnivore's dilemma
nifty thrifty things
flamingo toes
pink when
three mango seeds
between naps on the front porch
skip to my lou
cherished bliss
sugar bee crafts
our delightful home
diy dreamer
kathe with an e
cherished bliss
crafty allie
making the world cuter
east coast creative
sits girls
nanacherrow
yesterfood
kammy's Korner
miss mustard seed
somebody's dinner