
Today I'm going to show you the lovely quilt I made for my daughter's bed. I mentioned how I started this quilt and where I took my inspiration from here. So be sure to go and check out the other tutorial. I changed it up a bit though. This didn't turn out exactly like the Anthro quilt, but I still love it. I think this one is a bit more slouchy than the one you can buy, but I'll say it was worth it. I spent 20 bucks to make this....and the Anthro one is like 350 I think. Ok...so on with the show!

I began with a queen sized set of these white Jersey sheets from good ole Wally World. I would have gotten the king sized, but they only had queen....but that turned out to be plenty. Plus, it came with two white pillow cases, which I kept as is and added them to my stash of pillow cases, so....score!
I sort of figured it out as I went when it came to the size of this blanket and how many squares I needed. I began by cutting 18 by 18 inch squares out of both the fitted and the flat sheets (soooo much easier with the flat sheet fyi). I managed to get 36 squares.
Next I took a 6 inch, in diameter, plate and began to trace a circle in the center of each square.
This was super easy.....it went by pretty quickly.

you are left with a circle

Next you take some thread (I just used regular thread, doubled up and knotted on the end) and an embroidery needle and you go in and out all the way around the circle.


Pull it tight

It looks like those tissue paper ghosts we used to make when I was little.

Before you pull it all the way tight and start securing it, squish the little ghost head down in the middle so that he looks like a little flower.

Now pull it tight.

Start wrapping the outside with your string. Make sure to follow the line where the pleats are.

Take your needle through the center a few times as you wrap. You want to go through the middle at least three different times from different sides.

Now take your needle and bring it through to the underside of the square.

When you flip it over, it will look like this. That little protrusion is where the middle part was poked down. You want to make sure that is secured so that your rosettes don't come undone. You don't want to be left with a ghost head blanket instead of a rosette blanket....ha.. okay, I'm done with the cheesy-ness.

Tie off your string. I just made a bunch of knots between the middle protrusion and the side....but do that however you like.

And you have one square! ....now...do that 35 more times!

Once you are ready to start sewing your squares together, here is where I differed from the other tutorial. They advocated pinning all of your pleats....which would have made me go nuts. I decided it was much easier ( and safer too....all those pins, what if you missed one...ouch) to just run a gathering stitch down the side of the square. I put my sewing machine on it's longest stitch length, selected a strait stitch, and sewed (without backstitching) down the length of one side of my square.

I taped a tape measure to my table because I knew I would need to measure a lot. I went and measured my daughter's bed first and determined that I wanted the entire quilt to be 50 inches wide and 70 inches long. It would probably vary for each bed. I wanted these to not have too much overhang, so I measured, instead of going with the standard "twin sized." So, I lucked out having just enough squares, with one left over. Since I had 36 squares to work with, I determined I needed 7 rows of 5 squares (35). Each square would need to be 10 inches (finished) for my measurements to add up. I took the gathered end of the square and pulled it tight and started loosening it until it reached 11 inches. (I added one inch because of a 1/2 inch seam allowance on either end).


Next I took a second square and ran a gathering stitch up one side and gathered it in the same manner. I placed the two squares right sides together (facing in) and sewed them together.


You repeat the process until you have a row of 5 squares. Then you move on to a new row of 5 squares. You repeat that until you have 7 strips of 5 squares....or however many you need for the size bed you have.

Next I took one of my long strips of squares, and I sewed a gathering stitch all the way down the length of one side. I actually did this in sections. I was afraid of the gathering string breaking on such a long run, so I stopped it in the middle and started a new one right next to it. It worked perfectly and I didn't break any of my strings. I gathered the side of my long strip until it measured 51 inches across...which actually happened to be the exact width of my kitchen table....so I totally ditched the tape measure and just used the table as a guide....happy accident. I made sure to remember to add an extra inch for seam allowances on either end, which is why it was 51 inches and not 50.

repeat with a second strip and lay it on top of the first strip to make sure they are the same length. You also want to make sure as you are spreading out your gathers, that each square is the same length. You don't want all of your gathers to be at one end of the strip and the other end not to have many. You will wind up with a quilt that has different sized wonky squares on it. Place the two strips one on top of the other with right sides facing in and pin each of the seams together.

You want to make sure each square is lined up at the seam. You may have to adjust your gathers to make them line up properly.


Now sew the two strips together.....and then repeat the process with the next strip....and then the next.....and then then next.....

and then the next....


and then the next.....

and then the next....

until you're done!
haha, just kidding....you still have a ton of work left to do!
If you want this to be a duvet cover, you could stop here and sew this onto the face of a duvet cover....I didn't want that. I wanted mine to be a bona fide quilt.
I laid it out on the ground

Then added a layer of batting to the back.

Now in your mind imagine flipping this thing over, so that the batting was on the floor and the quilt was on top, right side up....because that's basically what I had to do....flip the whole thing like a giant pancake. Like I said, figuring it out as I go....
Next I went through and tacked the quilt down to the batting through the center of each rosette with a needle and thread, tying each one off on the back as I went. You have to do this because when you sew the back on, you won't be able to turn the whole thing inside out if the batting isn't secured to something. I didn't take a picture of this part....I was getting burned out. This seriously took a long time.
Once I had all of the rosettes tacked down to the batting, then I added the back. I used a white twin sheet that I already had. My kids don't sleep with the flat sheets, so I just repurposed it :) I literally just laid it over the quilt, right sides facing in and started pinning it together. I measured 50 inches across and pinned the ends there (remember the outside edge of your quilt still isn't gathered) and then I pinned the seams of each square every 10 inches....all the way around the perimeter of the quilt.


Then I sewed....all the way around, except for leaving one space at the end, about 8 inches long. I made sure to just gather the outside edge as I went. It was pretty easy since only one side of the seam had to be gathered against the other side that was flat.
Once you finish sewing, turn the whole thing right side out through that 8 inch space you left open.


After that, you are close to being finished....but not quite! I went ahead and started adding a tie through the quilt (tying on the underneath side of the quilt) at every intersection of seams through the whole quilt. This keeps it together as one piece. If you feel like tackling "real quilting" you could try to do the whole "stitch the ditch" thing and sew along on top of all of the seams. I would love to learn this sometime....but I was ready to call it quits, so doing ties was good enough for me! After I had everything finished, I went ahead and closed up the 8 inch opening with some hand stitches. In the end, it didn't turn out perfect, but I think it turned out to be beautiful!


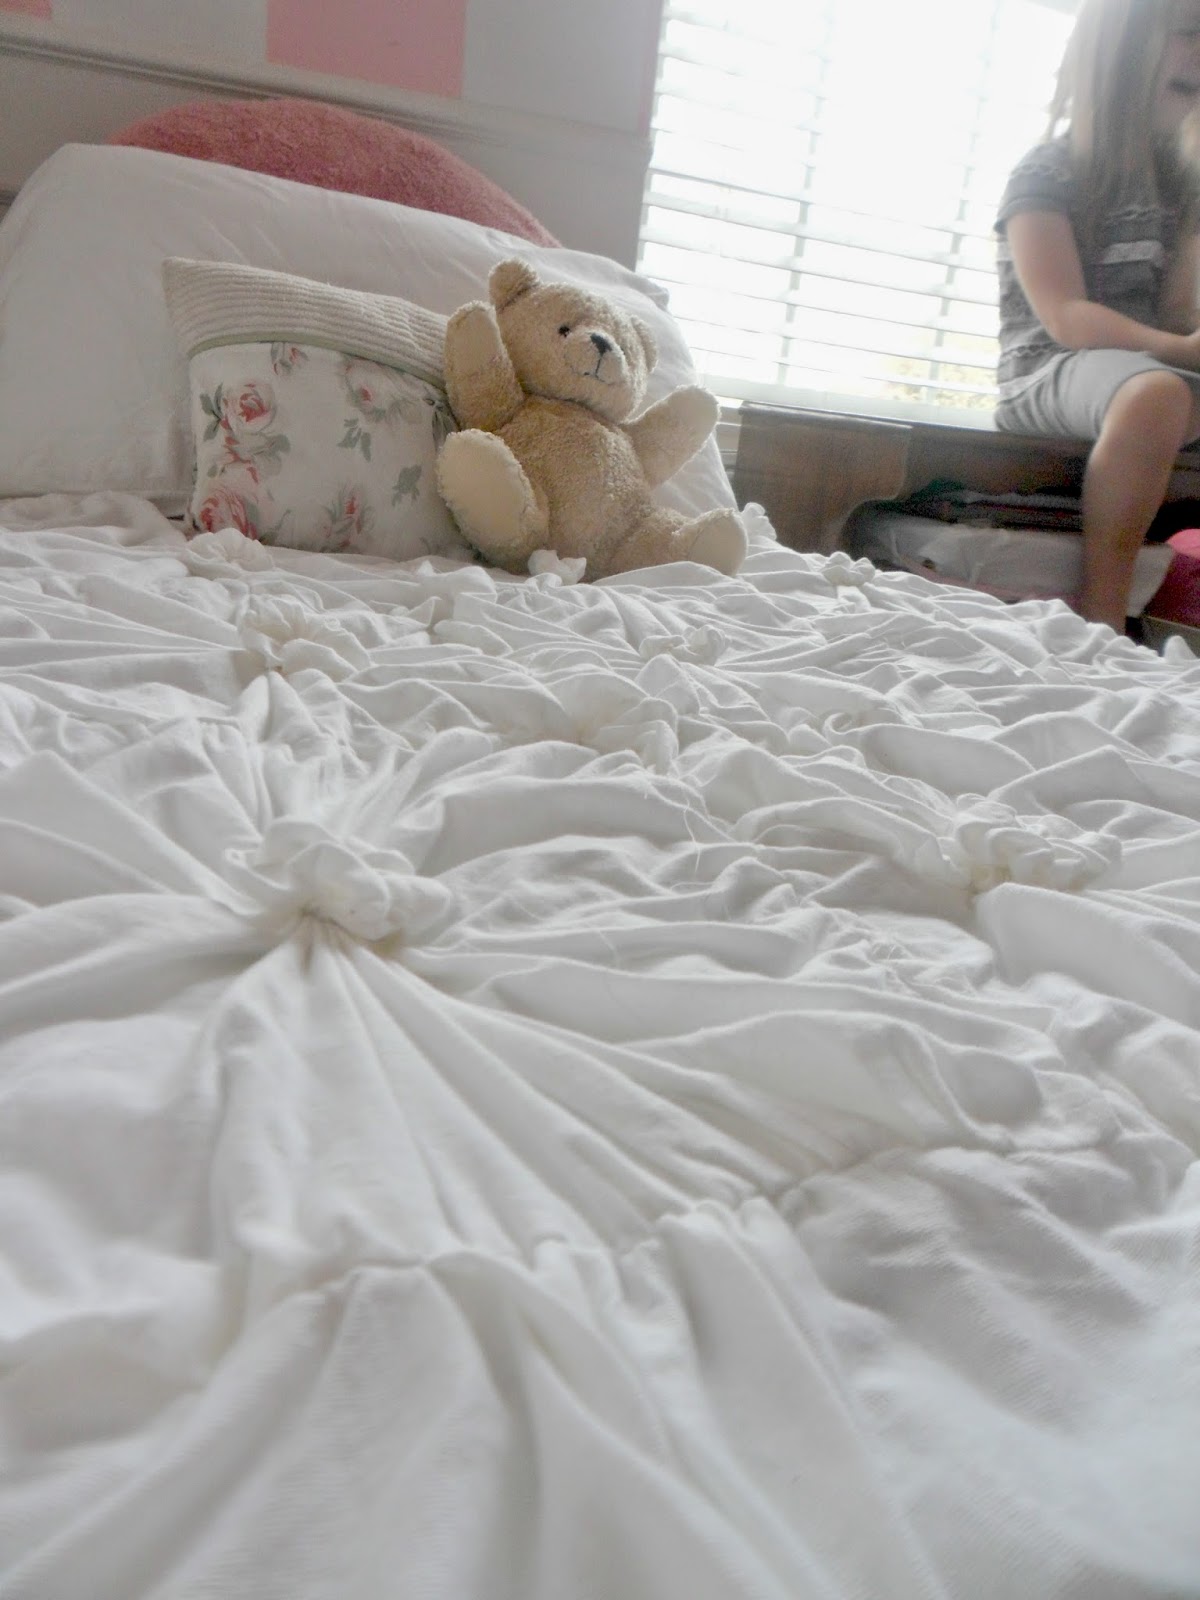
and just to keep it real, this is what was going on on the other side of the room while I was taking these photos...

Someday I'll get their whole room finished so you guys can see it all put together. I'm nowhere near done, though. Up next are new beds for the girls and I'm making over their closet door. Stay tuned for those :) ....but first....I have to make the second quilt for the second girl......sigh....
Have a great day!
xoxo!
Anna
sharing with:
